
- Subscribe to RSS Feed
- Mark as New
- Mark as Read
- Bookmark
- Subscribe
- Printer Friendly Page
- Report Inappropriate Content
Introduction
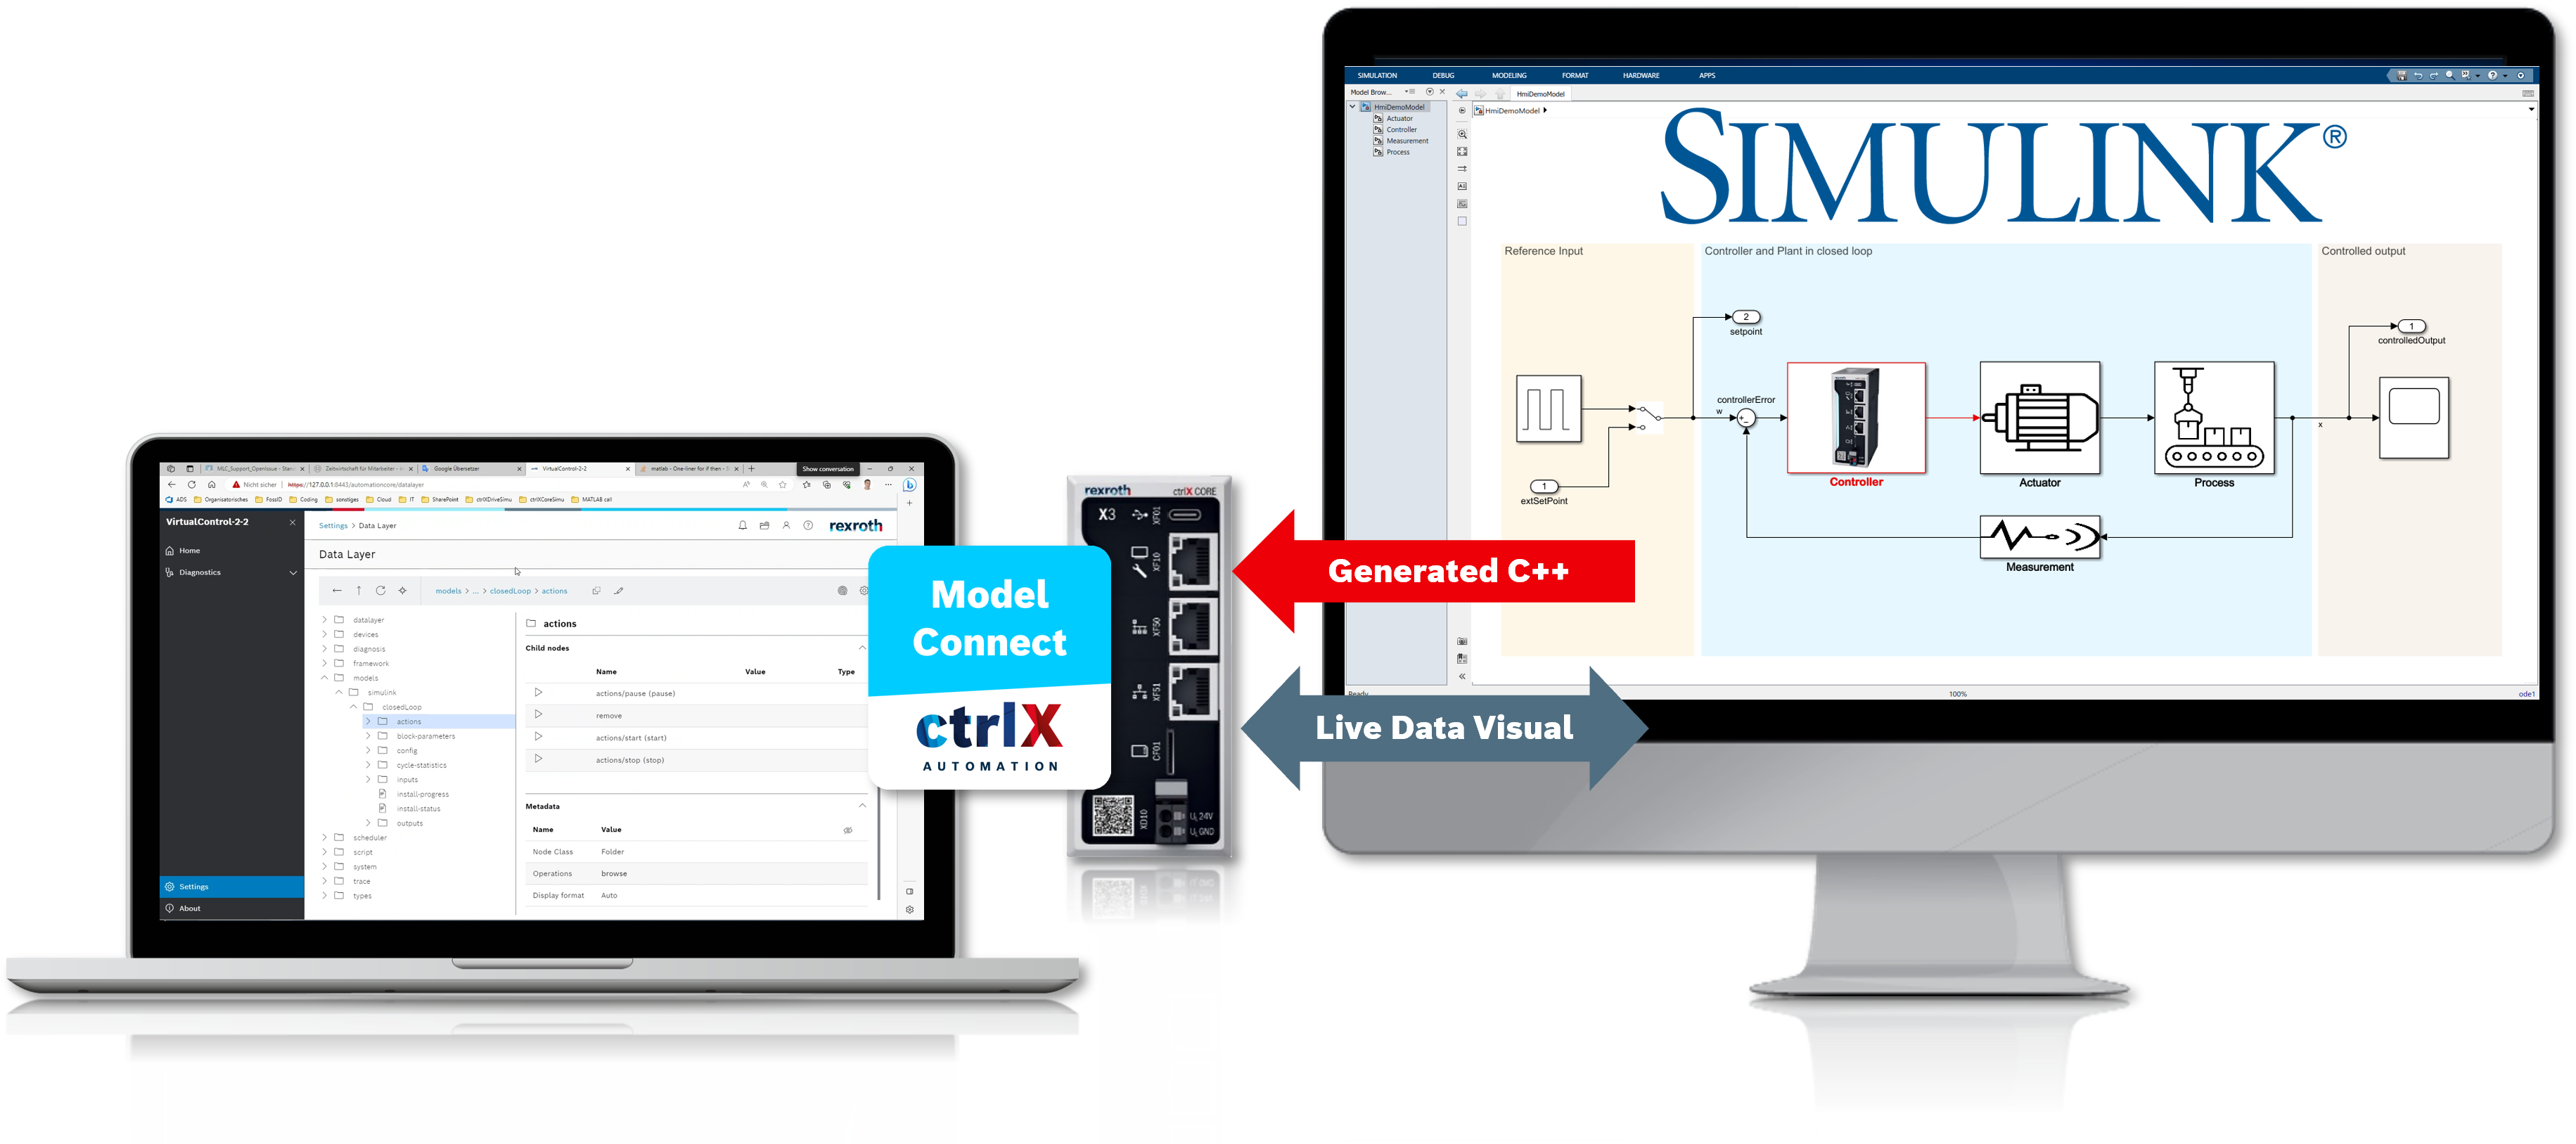
In this article, I will guide you through the process of using the Model Connect app to run your MATLAB® Simulink models on the ctrlX CORE. Simulink® models are commonly used in control systems engineering, signal processing, and other fields where dynamic systems are analyzed and designed. By following the step-by-step instructions in this article, you'll be able to seamlessly integrate your Simulink models with the ctrlX CORE, enabling you to test and validate your designs in a real-world setting. ctrlX Model Connect aims to bring Simulink models to the real world in just a few minutes, or in other words, to provide a one-click solution to bring models into the ctrlX CORE
Prerequisites
MATLAB packages
- MATLAB (> version R2022a)
- Simulink
- MATLAB Coder
- Embedded coder
ctrlX AUTOMATION
- ctrlX CORE (firmware > version 1.18)
- ctrlX WORKS to install COREvirtual (> version 1.18)
- Model Connect app
Operation system (only with COREvirtual)
- Windows 10 64 Bit
- 8 GB RAM
- Processor: Intel with support of the virtualization technology (Intel VT)
CORE setup
To setup ctrlX COREvirtual
To set up ctrlX COREvirtual, open ctrlX WORKS, go to Devices and press the edit icon as shown in picture below.

To enable external mode go to the Extended tab and under port forwarding add port 17725:17725 and under hardware acceleration choose Windows Hypervisor Platform.

If the option for the Windows hypervisor Platform Is not available then go to the Windows search bar and search for "Turn Windows Features on or off". now check the Windows Hypervisor Platform option. Now option should be available in ctrlX WORKS.

Device ctrlX CORE
To allow connection between MATLAB and ctrlX CORE got to "Windows Defender Firewall with Advanced Security" and make sure in Inbound and Outbound Rules that port 17725 is allowed. If not then define New Rule for this port.
Model Deployment and Configuration
Model Setup
Install ctrlX AUTOMATION Templates by double clicking the "Support Package for ctrlX OS (Model Connect app).mltbx". For the DOWNLOAD of the Support Package please go to the Model Connect app page in the ctrlX Store (download section at the top of the sidebar).
(THE VERSION HAS TO MATCH THE VERSION OF THE INSTALLED MODEL CONNECT APP)

Open MATLAB and install the "MinGW" compiler from the Add-On Explorer.

Now type 'Simulink' in the command window and hit enter. Now Simulink window will open.
In Simulink, under ctrlX Automation Templates. there are some sample models given for the first easy deployment. choose the cxcStateflow model for example. It is a simple sine wave generator with 4 different parameters and the output will be 1 or -1 depending on the sign of amplitude.

After opening the model, the following window should look like the picture below.

The description of the template features can be found there.
Feature Configuration
In the menubar, click on Modeling and now in the toolbar click on Model Setting. it will open a new Configuration Parameters window.

In the sidebar of configuration parameters, click on Code Generation then in the following windows click on the browse button to choose the "ctrlXCORE_ert.tlc" target file and hit the okay button as shown in the picture below.

In the Configuration Parameters window, many parameters were changed in order to ensure compatibility with our controller. Some new fields are available under Code Generation. Navigate to ctrlX CORE options and configure ctrlX CORE parameters depending on real or virtual CORE as can be seen in the picture.

In the sidebar of Configuration Parameters, click on option Solver and change the Fixed-step size to "0.002", cause that is the minimum sampling rate on ctrlX CORE. This configuration is not necessary but If not done It will showcase an error in the diagnosis of ctrlX CORE.

This is all you need to configure in order to deploy.
Model Deployment
Before deployment first, save the model under the relevant name. Cause by this name it will be shown in ctrlX Data Layer.
To deploy the Model on ctrlX CORE, Navigate to the Hardware tab on menubar. Now in the toolbar click on "Monitor & Tune". In the drop-down click on Build for monitoring as shown in the picture below.

This step concludes the process. After clicking this button, the model should be built and deployed into the selected ctrlX CORE.
During deployment, some information regarding the toolchain evolution will be displayed under the diagnostic viewer on Simulink Window. Those messages are important to understand if the deployment was successful or failed.
Actions on ctrlX CORE
Go to the web interface of ctrlX CORE and under "manage app data" click on "Model Connect: Model Configuration" as shown in the picture below.

At the time, when deployment is in process running then the preview inside Model Connect folder should look like picture below.

In the scanner.log file, you can review the process and as soon as it has compiled the model 100% then it will automatically delete the zip file of the model and you can see the Model process running in Setting > scheduler.
To change and review the Model parameters after deployment, you can do it either from the ctrlX Data Layer node of the model or by connecting the model from the MATLAB Simulink.
Model preview inside ctrlX Data Layer

Connect the Simulink model with ctrlX CORE
To connect model of Simulink with model running on ctrlX CORE. Go to Menubar > HARDWARE > Monitor & Tune > Connect.

Now you can make changes in model parameters in real-time from Simulink. To disconnect simply press disconnect or stop.
In order to get more information about the model connect toolbox. Type 'doc' command in MATLAB Command Window and go to "ctrlX model connect toolbox"
MATLAB and Simulink are registered trademarks of The MathWorks, Inc.
See https://mathworks.com/company/aboutus/policies_statements/trademarks.html for further trademarks and registered trademarks that might be mentioned in this document.

You must be a registered user to add a comment. If you've already registered, sign in. Otherwise, register and sign in.