
- Subscribe to RSS Feed
- Mark as New
- Mark as Read
- Bookmark
- Subscribe
- Printer Friendly Page
- Report Inappropriate Content
- Introduction
- Prerequisites
- Preparation (can be skipped if there is already a setup to upload)
- Reset and Setup
- Step 1: Download the desired systemimage
- Step 2: Copy the systemimage to the SD-card
- Step 3: Copy the setup to the SD-card
- Step 4: Execute the reset and the setup
- Step 5: Remove the SD-card properly
- Related links
Introduction
In this tutorial you will learn how to reset your ctrlX CORE and upload a specific setup onto it in one step. All you need is a microSD-card and your ctrlX CORE of course.
Prerequisites
- ctrlX CORE (minimum version 1.20)
- MicroSD-card with minimum 4GB and maximum 32GB
- Access to the pre-release area of the collaboration room
Preparation (can be skipped if there is already a setup to upload)
Before it can be started, the desired setup must be created, e.g. from an already existing controller.
Navigate to settings and Setup.

Click on Create.
Select the desired resources and press Next.
The Setup can be secured by a password, but it does not have to be and then press Create. 

A zip file will be generated and the place, where to save it, will have to be selected.
Now, the setup is done.
Reset and Setup
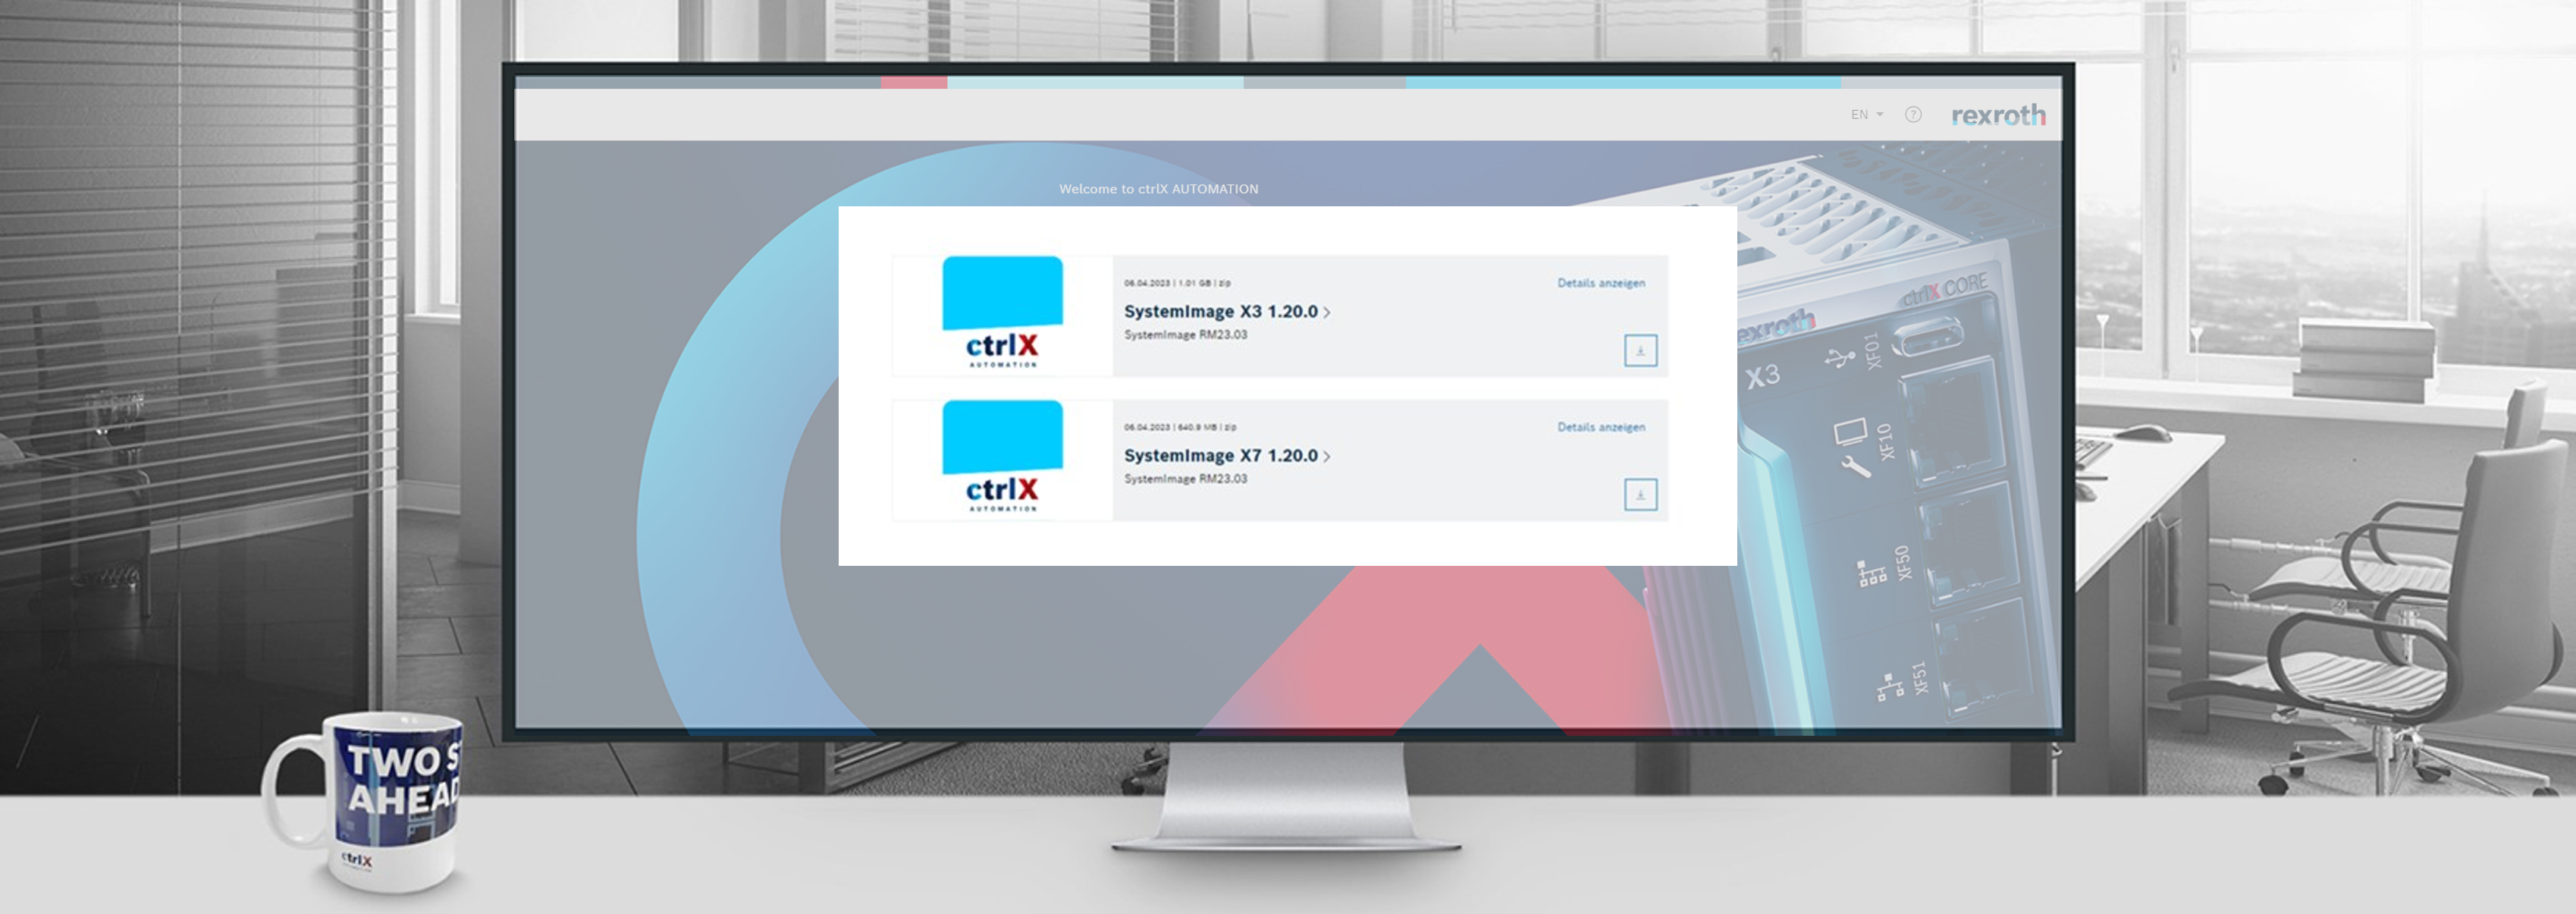
Step 1: Download the desired systemimage
Download the desired systemimage from the collaboration room. The path for V1.20.0 should be: Start/ctrlX AUTOMATION/ctrlX CORE APPS Releases/V1.20/ctrlX CORE Systemimage
Make sure you download the correct version (e.g. V1.18.0 or V1.20.0) and it is appropriate for the device (e.g. X3 or X7).
Step 2: Copy the systemimage to the SD-card
Delete all existing files on the SD-card or format it such that it has only one partition and the format is FAT32. After this step, unzip the previously downloaded system image and copy the following files/folders on the SD-card in the root folder:
file: rescue.itb
folder: boot
folder: rexroth-arch01.tar
The SD-card should now look like this:
Step 3: Copy the setup to the SD-card
Now, the setup has to be copied in the root folder of the SD-card as well. It is important that the name of the setup file is exactly: setup.zip
Otherwise, the file will not be found and the setup can not be executed.
The root folder of the SD-card should now look like this: 
Step 4: Execute the reset and the setup
Go trough the following instructions:
- Switch off the ctrlX CORE (no power supply)
- Insert the prepared microSD card in slot CF01 from the ctrlX CORE
- Switch the ctrlX CORE on again
- The diagnostic LED on the unit starts to flash alternately red and blue
- After the LED stops flashing red and blue alternately, the update is complete
→ If the LED flashes blue: Update successfully completed
→ If the LED flashes red: An error has occurred
Note: If necessary, the error can be narrowed down via the flash.log file. The log file is stored on the external data carrier in the folder created during the reset process with the serial number of the ctrlX CORE as the name.
After the reset, the setup will start uploading automatically.
If there is no error, the blue LED will flash for about 1 min and then switch to green for a few seconds. After this step the LED will light blue, which means the ctrlX CORE is installing the setup. Depending on how many apps the setup includes, this step can take up to 30 min.
If you have an engineering PC at your disposal, you can connect via the Web browser (Standard-IP: 192.168.1.1) to the ctrlX CORE and follow the progress by checking which apps have already been installed. Otherwise, you will have to wait for about 30 min (to be sure that everything has been installed properly).
After the setup has been installed, the ctrlX CORE will be in Service mode (therefore it is not possible to distinguish whether the core is downloading, or it is already in service mode → both actions have a blue LED). Now the setup has been installed.
Step 5: Remove the SD-card properly
If you have an engineering PC, you can navigate to settings and storage.

Now select your microSD-card and click on remove safely. After this step, the ctrlX CORE can be used with the new setup.

Otherwise (you do not have an engineering PC), you have to disconnect the ctrlX CORE from power supply and then remove the microSD-card. Afterwards, the ctrlX CORE can be used.
On the microSD-card, the log file from the reset and from the setup can be found.
Related links

You must be a registered user to add a comment. If you've already registered, sign in. Otherwise, register and sign in.