
- Subscribe to RSS Feed
- Mark as New
- Mark as Read
- Bookmark
- Subscribe
- Printer Friendly Page
- Report Inappropriate Content
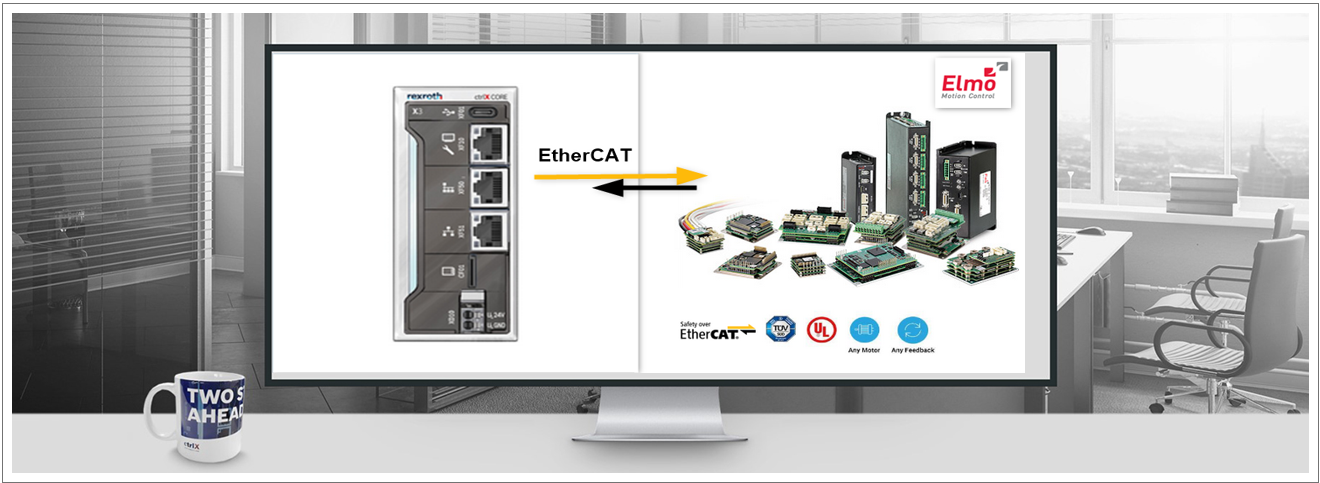
In the following we show you how to use ctrlX CORE with ELMO Drive.
Versions used
All the functions and screen shots are based on:
- Engineering: ELMO Application Studio EAS II version 2.8.1.6 64Bit
- ELMO Platinum Drive Harmonica 02.00.03.00 B07 19Oct2021
- ELMO Platinum Drive Twitter 02.00.03.00 B07 19Oct2021
- ctrlX CORE version 1.20
- ctrlX WORKS 1.20
Prerequisites
A connection to the ctrlX CORE has been successfully established (Browser), the device is correctly wired, and 24 V are successfully put on. As well as the Engineering tool ctrlX WORKS Engineering has been started, and the EAS II (ELMO Application Studio) has been installed and started.
1. What is the target of this description
Show configuration of EtherCAT CoE and Motion app with ctrlX WORKS to get a running system with ELMO drive.
2. What is required
- actual device description file from ELMO drives (actual version ElmoPlatinum_10_V120027_S.xml)
- installed EtherCAT Master App, Motion App and PLC App on the ctrlX CORE
3. Configuration of IO Engineering
- Open "Device Repository"
Open Device Repository
- Install device description file
Install device description file
- Scan device and insert in project
IO Engineering Scan devices
- Download IO configuration to ctrlX CORE
Download configuration to Core
IO Engineering Startup
Check the startup parameters, to use the Cyclic synchronous Position (CSP) operation mode (ELMO operation mode "Position = 5").
4. Configuration of ctrlX CORE, Axis Profile and Motion
- Add Axis profile, enter a name, select CANopen over Ethercat
Add axis profile
-
Map the variables from the drive to the axis profile
Core axis profile variables mapping
Core axis profile mapping details drive!! Important !! Open the profile over the Data Layer to make the Scaling configuration of this drive.
- You can check the resolution information with the ELMO Application Studio, see screenshot below. This drive doesn´t support the scaling objects (optional) that the ctrlX CORE motion normally needs. In this case you have to make the scalings inside the control.
Check settings
Data Layer settings 1
Data Layer settings 2
- Add a Motion axis and connect the axis to the profile
You can later change the format or the limits and so on, but these must match with the drive parameterization.

- Switch the motion in running mode
Switch the motion in running
5. Create and check settings of ELMO drive
- Start the ELMO Application Studio and Connect the drive
Load ELMO application suite
- Check the scaling and modulo parametrization
Check scaling
Check modulo behaviourHint: If you want to command the axis by ELMO Application Studio you must switch the parameter "af", see screenshot.
Switch parameter "af"
6. Run the Motor (via Motion App)


Hint: If this is working you can start with your PLC program.

You must be a registered user to add a comment. If you've already registered, sign in. Otherwise, register and sign in.