
- Subscribe to RSS Feed
- Mark as New
- Mark as Read
- Bookmark
- Subscribe
- Printer Friendly Page
- Report Inappropriate Content
The Goal
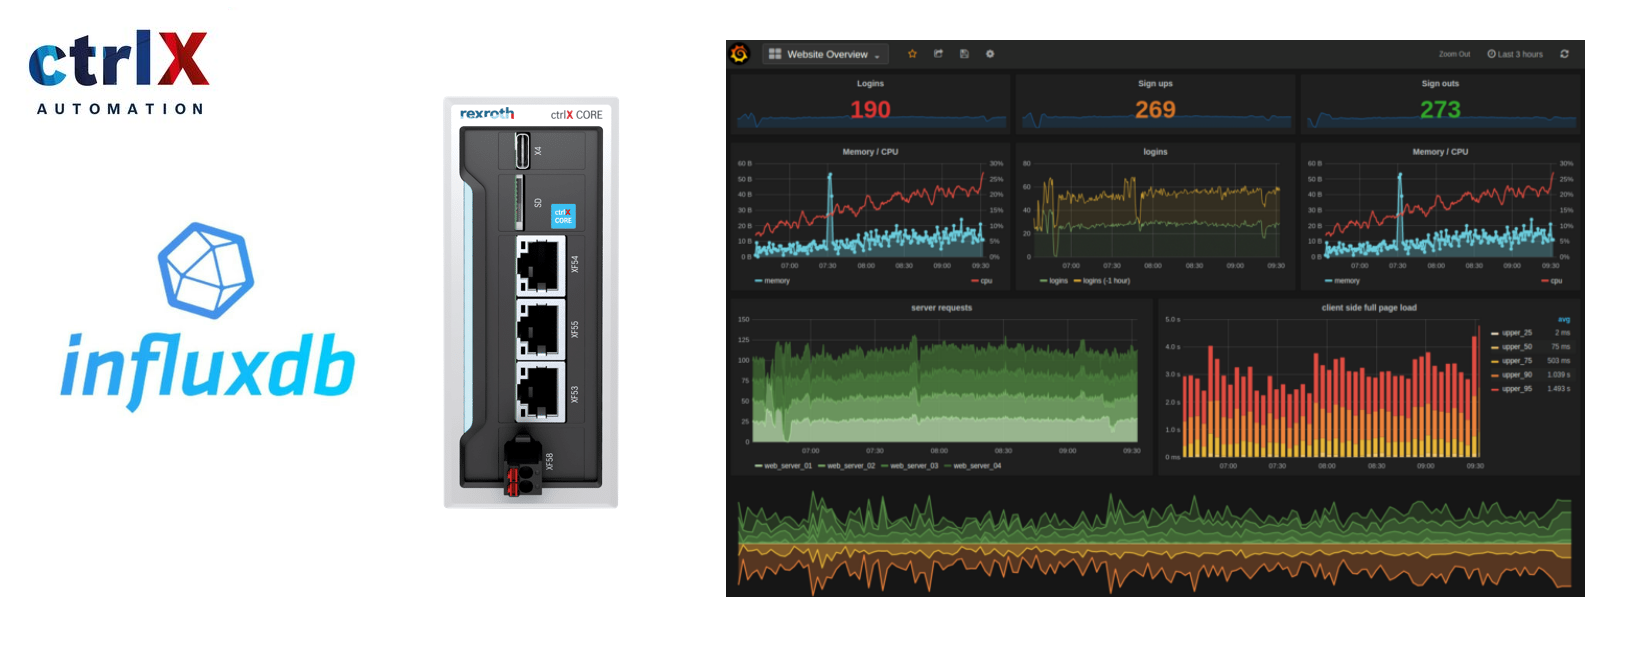
One of the most requested IIoT feature of a machine is the capability to manage, store and visualize data. There are many ways to achieve this result, one of the best ways to achieve this goal is to combine three apps:
- NodeRed: for connectivity
- InfluxDB: data storage
- Grafana: Simple and standard HMIs
Edit
It's now possible to use the official influxDB app with external memory support 📲. Scroll down to the end 🚀
Let's see together how we can setup a basic example.

Which data?
The data are coming usually from Ethecat, Opcua or third part devices here there is a brief list which will be updated:
- Collect data from Drives
- Collect data from Siemens S7 or an MLC using opcua (good for any opcua device)
- Any Ethercat device (including IO-LINK masters) can be used to harvest data an take them to ctrlX, just read the Ethercat Node!
Two ways
There are two possible configurations:
- InfluxDB 2.x + Grafana + NodeRed
- INfluxDB 1.8.3 + Grafana + NodeRed
There are not many differences, InfluxDB 2.0 it's an official ctrlX AUTOMATION app equipped with all the safety and platform features needed to setup reliable IIoT system. The only advantage in using InfluxDB 1.8.3 is the possibility to use the Grafana Auto-Complention features which can save some time. Chose the one you prefer considering that only the number 1 is the full supported by Rexroth.
Step 0 - Valid for both solutions
The first step in both cases is to setup NodeRed correctly how:
- install NodeRed
- connect ctrlX CORE to internet and check that the system clock is correctly set
- download the InfluxDB palette as shown in the picture

If everything goes stright we should find these three new nodes on the left:

Setup 1 - Productivity
What we need to install is:
- InfluxDB 2.x
- Grafana
In the end the sideboard should look like this:

Step 0 - Use an external memory (Optional)
When the influxDB (and thus memory) workload is high it is necessary to use an external memory to save influxDB data. Here there are the steps we need to follow:
- Navigate no setting ➡️ storage and locate youre device
- Format the device as an Ext4 device otherwise it won't work correctly in the long term.
- Mount it, it will be automatically mounted at boot

Now we need to go to the "Manage app data" menu, save the archive and edit the influxdb config file. W need to change the bold path and engine path to use our device. Once the file is saved we just need to upload the configuration on the device and update it.

Here there is my file configuration example. usually mmcblk1p1 is for external microSD cards and sda1 stand for removable usb device.

Step 1 - Setup influx
Go to the influx page clicking the icon on the left:

Setup the Initial use and the first Bucket, in this guide we just use boschrexroth as anything:

Go to Data API Token:

Just copy and keep secret the autogenerated token:

we're done here! Let's move forward!
Step 2 - Setup Node-Red
Load the example in NodeRed and open up the InfluxDB node!

Be sure to parametrize the node as follow:

In the server configuration is important to insert the token created before and insert the right URL:

But.. What does this example do? It's simple, basically creates a set o three random values that are then joined together to create a set of values loaded inside InfluxDB.

If we come back to InfluxDB and we select Explore, boschrexroth, Drive1 (the default measurement), all the fields and finally apply we can see the data flowing inside the database!! great no?

Step 3 - Connect Grafana
We're almost done, we just need to connect Grafana. Nothing more simple! Lets do it!
Just open up Grafana, login with admin as user and admin as password then move to settings and then Data sources:

Select obviously InfluxDB then in the configuration Flux as query language.


The rest of the configuration is just like the NodeRed node! The click save and test!

Ok almost done, create the first dashboard and then click the "add panel button":


Ok now the panel asks for a query don't go mad.. Work smart not Hard!!

Go back inside InfluxDB and open up the script editor, copy the query inside the panel and save!


First Panel completed!!
Setup 2 - Alternative (not official)
What we need to install is:
- InfluxDB 1.8.3
- Grafana
In the end the sideboard looks like this:

By default InfluxDB 1.8.3 has no frontend so, there is no icon on the sidebar.
Step 1 - Setup influx and NodeRed
How? load up the NodeRed example and deploy it!

What is happening? 1 si creating the database trough REST API 2 is setting up a proper retention policy and 3 is creating random data!
Step 2 - Setup Grafana
ust open up Grafana, login with admin as user and admin as password then move to settings and then Data sources:

This setup has not security active, use the firewall app to protect InfluxDB! Insert drivedata as database (the example creates this automatically).

Ok almost done, create the first dashboard and then click the "add panel button":


You must be a registered user to add a comment. If you've already registered, sign in. Otherwise, register and sign in.